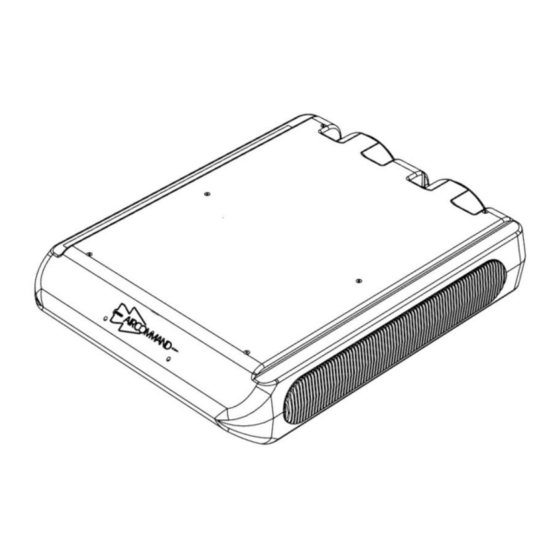
Summary of Contents for Aircommand IBIS
- Page 1 IBIS OWNERS MANUAL - INSTALLATION - COMMISSIONING OF UNIT - SPECIFICATIONS - OPERATING INSTRUCTIONS...
-
Page 2: Warranty Of Refrigerated Airconditioning
En el caso que se necesite hacer uso del servicio de garantía, el comprador debe ponerse en contacto con Aircommand Australia para la aprobación del servicio. -
Page 3: Serial Number
Aircommand will not be held responsible for problems relating to incorrect or improper installation methods. - Page 4 IV. GENERATORS The IBIS unit is equipped with a gen kit that allows it to be started using a generator. Any generator used should have a steady sine wave at 50hz, and be able to handle the compressor start up demand. However given the vast range in quantity and quality of generators on the market, Aircommand cannot recommend a specific model or brand.
-
Page 5: Before Installation
Failure to properly install the unit or attempting to modify it in any way can be extremely hazardous and may result in property damage and/or personal injury Aircommand will not be held responsible for issues arising from incorrect or improper installation methods... -
Page 6: Installation Position
- The above outline on the left shows the minimum clearance required around the IBIS unit on the roof of the vehicle, distances shown are calculated from a 14” square hole (356 x 356mm) It is important that the unit is never more than 5°... - Page 7 2. ASSESS ROOF STRENGTH - The roof members MUST be strong enough LONGITUDINALS MUST BE to support the weight of the unit (up to 50kg) FIXED SECURELY TO DIRECTION OF TRAVEL without any roof deflection that will cause TRANSVERSE ROOF MEMBERS “pooling”...
-
Page 8: Connect Electrical Supply
Fig 6: Position the IBIS over the roof gasket and set it down gently The unit weights approximately 50kg. Ensure a two person lift or use a mechanical hoist to avoid the risk of injury. - Page 9 6. ASSESS ROOF THICKNESS Duct length required Roof thickness (mm) Hold down bolt length - Measure the roof thickness and (mm) consult the table across to check Include ‘H’ frame if used required (mm) if adjustments to the hold down bolt duct length...
- Page 10 8. ATTACH DUCT TO UNIT - Raise the brace assembly and slip the black plastic duct over the outside diameter of the outlet underneath the rooftop unit. Ensure that the notch cut in the plastic ductwork aligns with the fans power cable (Fig 12 &...
-
Page 11: Installation Is Now Complete
9. ATTACH PLENUM COVER - Secure the main plenum cover to the duct assembly with the 4 screws provided (Fig 16). TIP: It is important that these screws are not over tightened otherwise the plenum may crack. - Remove the filter elements by pulling them out of the plenum, and use the six self tapping counter sunk screws to secure the covers edges to the caravan... -
Page 12: Commissioning Of The Unit
They must be cleaned periodically to ensure that they do not become clogged with dust and other For long term storage outdoors, or to protect your IBIS from particles. winter storms and weathering when not in use, a protective... -
Page 13: General Specifications
GENERAL SPECIFICATIONS Air – Conditioner Height 220mm Width 825mm Length 1040mm Weight 44kg Air Discharge Plenum Height 65mm Width 535mm Length 555mm Weight 2.4kg Electrical Rating: 240V, 50hz Nominal Cooling Capacity: 3.2 KW Nominal Heating Capacity: 3.4 KW Maximum Rated Current Cooling: Maximum Rated Current Heating: 6.5 A Locked Rotor Current:... -
Page 14: Operating Instructions
OPERATING INSTRUCTIONS - Turn the unit on by pressing the ON/OFF button once. - Press the MODE button to cycle through options Cool, Dry, Heat and Fan. COOLING - Cycle mode button to highlight COOL. - You may select High, Med, Low or Auto fan speeds by pressing the fan button.


