Advertisement
Table of Contents
- 1 Table of Contents
- 2 General Information
- 3 Important Safety Instructions
- 4 Structure Diagram
- 5 Setup Instructions
- 6 Setup Instructions
- 7 Control Panel
- 8 Control Panel
- 9 Operating Instructions
- 10 Maintenance
- 11 Maintenance
- 12 Troubleshooting
- 13 Error Codes
- 14 Purchase/Maintenance Records
- Download this manual
Advertisement
Table of Contents

Summary of Contents for Damp2Dry PACD150
- Page 1 DEHUMIDIFIER Your Source for Home Comfort 150 PINT COMMERCIAL DEHUMIDIFIER USER MANUAL FOR MODEL: PACD150 Before using your commercial dehumidifier, please read this manual carefully and keep it for future reference, along with your receipt.
-
Page 3: Table Of Contents
Table of ConTenTs General Information .................. 1 Important Safety Instructions ..............2 Structure Diagram ..................3 Setup Instructions ................4 – 5 Control Panel ..................6 – 7 Operating Instructions ................8 Maintenance ..................9 – 10 Troubleshooting ..................11 Error Codes .................... -
Page 4: Important Safety Instructions
ImporTanT safeTy InsTruCTIons WARNING - to reduce the risk of fire, electrical shock or injury to persons or property: 1. Always operate the product from a power source of the same voltage, frequency and rating as indicated on the product identification plate. -
Page 5: Structure Diagram
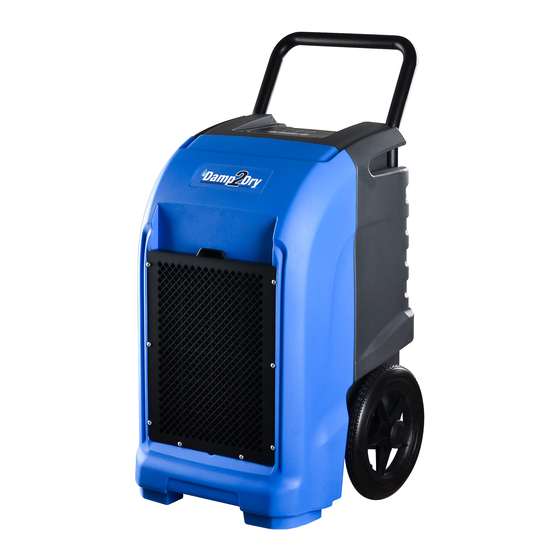
sTruCTure DIaGram 1. Metal handle 5. Air outlet grille 2. Control panel 6. Air inlet grille 3. Wheels 7. Power cord 4. Drain hose bracket 8. Drain hose NOTE: You will need to install the handle. Six bolts are included for the installation. WarnInG Do noT obsTruCT THe aIr InleT or ouTleT. -
Page 6: Setup Instructions
seTup InsTruCTIons ImporTanT Place dehumidifier in the upright position. When transporting a dehumidifier to site, allow the dehumidifier to stand upright for 30 minutes before switching ON. This is necessary to allow the refrigerant system to stabilize and avoid system damage. seTTInG up THe DeHumIDIfIer: Operate the dehumidifier in an enclosed area as this creates a drying chamber. -
Page 7: Setup Instructions
seTup InsTruCTIons (continued) DraInaGe: The dehumidifier pump connects to a plastic drainage hose. The hose is stored on the back of the appliance. Uncoil the entire hose, ensuring there are no kinks or restrictions, and place the unattached end into a drain or run outdoors. -
Page 8: Control Panel
ConTrol panel 1. ON/OFF Key 5. PURGE Key 2. UP and DOWN Keys 6. HUMIDITY and TIME Display 3. Purging Indicator 7. TIME Key 4. Defrosting Indicator 8. Operating Indicator on/off: Press the key to turn the unit ON or OFF. purGe: Press the key to empty water from the pump reservoir. -
Page 9: Control Panel
ConTrol panel (continued) TIme: Press this to display working hours and total working time. • Once the unit is running, the display will show the humidity setting (left) and current humidity (right). Humidity setting can be changed by pressing “Up” or “Down.” •... -
Page 10: Operating Instructions
operaTInG InsTruCTIons General Use: Press the ON/OFF key to turn the unit on. It will begin working automatically. After use, press ON/OFF key to turn the unit off. Water pump will turn on automatically for 40 seconds to drain the remaining water in the unit, then turn off automatically. -
Page 11: Maintenance
maInTenanCe To clean the air filter: Ensure the dehumidifier is turned OFF and the plug is removed from the power outlet before performing maintenance. The working performance of the dehumidifier will be greatly reduced if the filter becomes blocked. 1. Remove the filter as shown in the diagram below. 2. -
Page 12: Maintenance
maInTenanCe (continued) Changing the battery: The battery allows the user to check the total working time of the unit even when the unit is powered off. (Press the “T” button to check this.) 1. Remove the screws in the four corners of the control panel. -
Page 13: Troubleshooting
TroublesHooTInG Please check the following troubleshooting tips before calling for assistance. problem Cause soluTIon Dehumidifier No power to appliance. Connect plug to power does not operate outlet. Power not turned on. Switch power on. E4 error is displayed. Check drainage flow. Dehumidifier Insufficient working time Allow more working time collects little/no... -
Page 14: Error Codes
error CoDes WarnInG: DO NOT attempt to rectify errors using unqualified personnel. To remedy the following errors, a qualified professional is required. noTe: With any error code, it is suggested to turn the unit off, wait five minutes, and then turn the unit on again. If the error code is still present, a qualified professional is required to fix the problem. -
Page 15: Purchase/Maintenance Records
purCHase reCorD Purchase Date: Serial Number: Distributor: Tel. maInTenanCe reCorD DaTe serVICe performeD performeD by -13-... - Page 16 DEHUMIDIFIER Distributed by: Perfect Aire, LLC 5151 Belt Line Rd. Suite 878 Dallas, TX 75254 877-365-6274 www.perfectaire.us Specification and performance data is subject to change without notice. Printed in China...

