Table of Contents
Advertisement
Quick Links
Advertisement
Table of Contents

Summary of Contents for Qvis LED-HDMI1906-PA
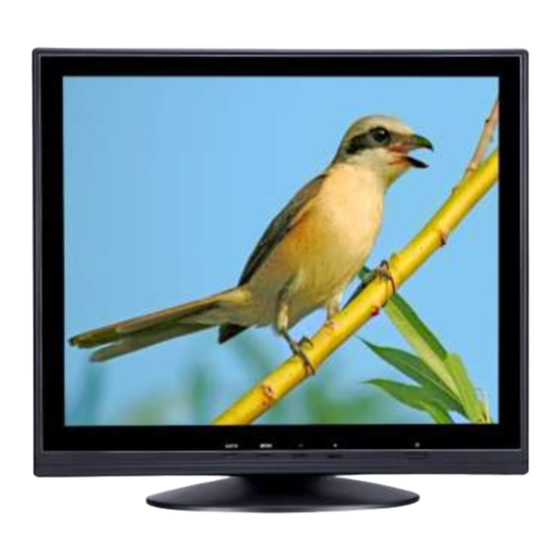
- Page 1 19” LED SECURITY MONITOR LED-HDMI1906-PA User’s Manual V1.0 01 / 2014...
- Page 2 Here you can find information about the corresponding model’s features and functions, as well as detailed instructions on how to operate the device. Before you operate the device please read the following safeguards and warnings carefully! © Copyright Qvis ®. All documentation rights reserved.
-
Page 3: Table Of Contents
3.2.2 OSD ....................... 12 3.2.3 Functions ....................... 14 3.2.4 GEOMETRY (Only available for VGA version) ..........16 3.2.5 Audio ......................17 LED monitor quality and pixel ................... 19 Product Specifications ....................20 © Copyright Qvis ®. All documentation rights reserved. -
Page 4: General Information
Contents of the box LED monitor Remote Control (Optional) Power unit 12VDC 3A Power cable VGA cable Instruction manual © Copyright Qvis ®. All documentation rights reserved. -
Page 5: Warnings
Stop using the device if water or other material should penetrate inside; risk of fire and electrocution. Contact the retailer or authorized installer. Slots and openings in the cabinet are provided for ventilation. These openings © Copyright Qvis ®. All documentation rights reserved. -
Page 6: Cleaning The Device
Product users shall be responsible for checking and respecting all local rules and regulations concerning monitoring and recording video signals. The manufacturing SHALL NOT MADE BE LIABLE for use of this product not in compliance with the laws in force. © Copyright Qvis ®. All documentation rights reserved. -
Page 7: Controls & Settings
3.1.4 Volume buttons [“+””-”] and confirm [menu] These keys allow you to change the volume (”+” button increases the volume, “-” button decreases the volume).The “Menu” button also allows you to confirm each setting. © Copyright Qvis ®. All documentation rights reserved. -
Page 8: Menu Button [Menu] And Confirm
These inputs allow the connection of video signals coming from external sources. 3.1.11 BNC1 - BNC2 video output This BNC output allows the repeating of the BNC1-BNC2 video signals to another video input (another monitor or DVR). © Copyright Qvis ®. All documentation rights reserved. -
Page 9: Osd Cctv Menu Controls
In order to exit from menus and submenus, press the [Menu] button. Volume adjustment In order to vary the volume without entering the OSD Menu please use the [“+” or “-”] buttons. © Copyright Qvis ®. All documentation rights reserved. -
Page 10: Picture
3.2.1 Picture When selecting the icon, the following screen will appear (this will depend on the signal type): AV (Pic1) HDMI (Pic 2) © Copyright Qvis ®. All documentation rights reserved. - Page 11 VGA (Pic 2) © Copyright Qvis ®. All documentation rights reserved.
- Page 12 PICTURE MODE This allows you to change the image settings among the following options: ”STANDARD - SOFT – VIVID - USER”. Press + and - buttons to change the values of this parameter. © Copyright Qvis ®. All documentation rights reserved.
-
Page 13: Osd
3.2.2 OSD Selecting the icon, the following screen will appear: AV/HDMI (Pic 1) VGA (Pic 2) © Copyright Qvis ®. All documentation rights reserved. - Page 14 This allows you to change the backlight settings among the following options: HIGH – LOW - MID. Press the + and - buttons to change the values of this parameter. MEMORY RECALL This allows you to reload the factory defaults. All the user settings will be lost. © Copyright Qvis ®. All documentation rights reserved.
-
Page 15: Functions
3.2.3 Functions Selecting the icon, the following screen will appear(depending the signal type): AV/HDMI (Pic 1) VGA (Pic 2) © Copyright Qvis ®. All documentation rights reserved. - Page 16 This allows to you to change the vertical position of the display image. Press the + and - buttons to vertically move the image. VSIZE This allows to you to change the vertical size of the display image. Press the + and - buttons to vertically move the image. © Copyright Qvis ®. All documentation rights reserved.
-
Page 17: Geometry (Only Available For Vga Version)
- to decrease the parameter value. PHASE This allows you to reduce the video distortion and instability components of the image. Press the button + to increase and the button - to decrease the parameter value. © Copyright Qvis ®. All documentation rights reserved. -
Page 18: Audio
3.2.5 Audio Selecting the icon, the following screen will appear. AV/HDMI (Pic 1) VGA (Pic 1) © Copyright Qvis ®. All documentation rights reserved. - Page 19 MUSIC - USER”. Press the + and - buttons to change the values of this parameter. This allows you to automatically adjust the audio volume in order to avoid unwanted peaks. Press the + and - buttons to change the values of this parameter. © Copyright Qvis ®. All documentation rights reserved.
-
Page 20: Led Monitor Quality And Pixel
This a common matter related to the specific nature of TFT technology which determines the possible presence of discontinuity on the screen and is not specific to products. © Copyright Qvis ®. All documentation rights reserved. -
Page 21: Product Specifications
Work Temperature - 10 to 50 °C IN/OUT INTERFACE Video Interface HDMI x1, VGA x 1 BNC x 2 In / BNC x1 Audio Interface Audio in x 1,Audio Out x 1, © Copyright Qvis ®. All documentation rights reserved. - Page 22 NET/Gross Weight 4.5KG / 6.569KG POWER Power Supply 12VDC, 3 Amp Voltage AC100 - 240V 50 / 60Hz Power Consumption <25W IMPORTANT NOTE: Product specifications may be subject to change without prior notice. © Copyright Qvis ®. All documentation rights reserved.
- Page 23 For more information about our accessories and other available cameras, NVRs & cameras, please visit our website: www.adata.co.uk Alternatively scan this QR code with your smart phone to be directed instantly to our website: © Copyright Qvis ®. All documentation rights reserved.

