Table of Contents
Advertisement
Quick Links
Download this manual
See also:
User Manual
Advertisement
Table of Contents

Summary of Contents for Yeastar Technology TB200
-
Page 1: Installation Guide
TB200/400 Installation Guide Version 1.0 Date: April 20 , 2015 Yeastar Information Technology Co. Ltd. -
Page 2: Table Of Contents
3.2.2 Connection of BRI Ports ................7 3.2.3 Power Connection ..................8 3.2.4 Connection Diagram ................. 8 4. TB200/400 Basic Configurations ............... 9 4.1 Logging in the Web Configuration Panel ............9 4.2 Network Settings ................... 10 4.3 Make and Receive Calls ................10 4.4 Reset to Factory Defaults ................ -
Page 3: Introduction
VoIP system or enabling any IP PBX to be connected to the public ISDN network. This Guide explains how to install TB200/400 BRI VoIP Gateway, how to log in web interface, etc. 3/11... -
Page 4: Preparation Before Installation
Contents of the Box Upon receiving TB200/400 gift box, please open the package and check if all the items are supplied as TB200/400 Packing List (See Sheet 1). If there is any problem, please contact your provider. Note: please make sure the following devices are available before installation:... -
Page 5: Hardware Specifications
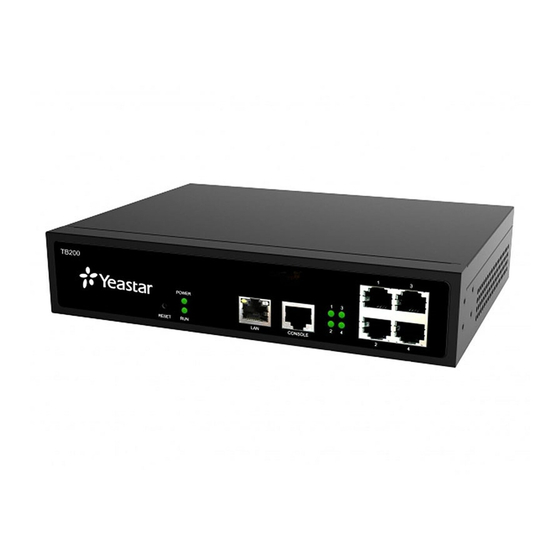
TB200/400 Installation Guide 2. Hardware Specifications 2.1 LED Indicators and Ports Front Panels Figure 2-1 TB200/400 Front Panels Table 2-1 Description of Front Panels Indication Status Description Press the RESET button to restore the factory ① Reset button defaults. The power is switched on. -
Page 6: Specifications And Operating Environment
Switch the device on or off. ② Power Inlet For connection of power supply. 2.2 Specifications and Operating Environment Table 2-3 TB200/400 Specifications and Operating Environment Items Description Size (L×W×H) 213 mm × 160 mm × 44 mm Power Supply... -
Page 7: Tb200/400 Installation
Gateway. 3.1 Placement Instructions Ambient Temperature: to avoid overheating, please do not run TB200/400 in the place where the ambient temperature is above 104°F (40°C). Ventilation: please make sure that the device has good ventilation around. -
Page 8: Power Connection
In the meantime, users would see that the “POWER” and “RUN” indicator lights turn on. Please switch off the power before plugging or unplugging the cables. 3.2.4 Connection Diagram Figure 3-1 TB200/400 Connection Diagram (Front Panel) Figure 3-2 TB200/400 Connection Diagram (Rear Panel) 8/11... -
Page 9: Tb200/400 Basic Configurations
TB200/400 Installation Guide 4. TB200/400 Basic Configurations 4.1 Logging in the Web Configuration Panel TB200/400 provides web-based configuration interface for administrator. The user can manage the device by logging in the web interface. Check the factory defaults below: IP address: http://192.168.5.150... -
Page 10: Network Settings
1. Calls from BRI to SIP Users should be able to receive BRI-to-SIP call after configuring a route on TB200/400 and an inbound route on SIP server if needed. Please refer to Yeastar TB BRI VoIP Gateways User Manual for details. -
Page 11: Conclusion
TB200/400 Installation Guide 5. Conclusion This Installation Guide only explains the installation and basic settings of TB200/400 BRI VoIP Gateways. For more functionality and advanced settings, please refer to the relative documents as below: “Yeastar TB BRI VoIP Gateways Datasheet”...


