Advertisement
Quick Links
Advertisement

Summary of Contents for Velleman K8091EU
- Page 1 LED CLOCK with SLOW ON DIMMER K8091EU K8091EU H8091IP-1...
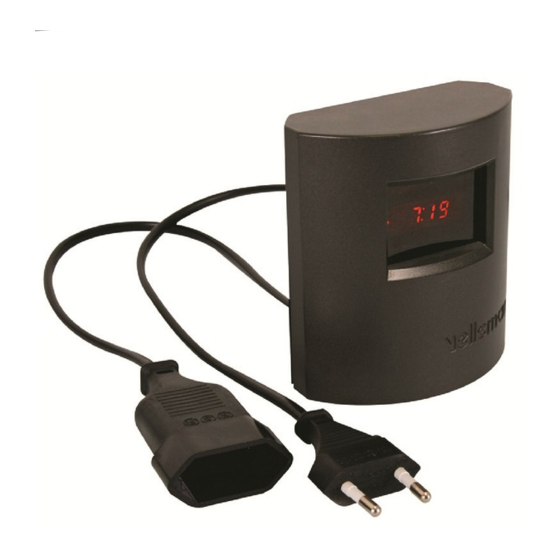
- Page 3 Features & specifications The K8091 is an attractive LED clock with connection possibility for a nightlight. 15 minutes before the set time, the light intensity of the connected light will increase up to full power at set time and beeps will be heard. The beep length is gradually built up so you will not be startled by a sudden alarm signal.
- Page 4 Assembly hints 1. Assembly (Skipping this can lead to troubles ! ) Ok, so we have your attention. These hints will help you to make this project successful. Read them carefully. 1.1 Make sure you have the right tools: A good quality soldering iron (25-40W) with a small tip.
- Page 5 Assembly hints Use the check-boxes to mark your progress. Please read the included information on safety and customer service * Typographical inaccuracies excluded. Always look for possible last minute manual updates, indicated as ‘NOTE’ on a separate leaflet. 1.3 Soldering Hints : 1- Mount the component against the PCB surface and carefully solder the leads...
- Page 6 Construction (1) ASSEMBLY OF THE COMPONENT SIDE 3. Zener diode (check the polarity) 1. Resistors ZD... ZD1 : 15V0 CATHODE R... 1/8W: 4. IC socket. Watch the position of R1 : 100 (1 - 0 - 1 - B) the notch! ...
- Page 7 Construction 8. Transistor 13. Capacitors C6 : 100nF T1 : BC547 C7 : 470nF 9. Voltage regulator 14. Push buttons VR2 : UA78L05 SW1 VR... SW2 SW3 10. 1W Resistor 15. Triac TR1 : BT136 TR...
- Page 8 Construction MOUNT THESE COMPONENTS ON THE PCB SOLDERSIDE, SOLDER THEM ON THE COMPONENTS SIDE 1. Four digit display & coil Mount the four digit display first. DY1 : 4-digit min. Mounting the coil: Cut the rubber foot and stick it to the PCB as shown. Position the coil onto the rubber foot.
- Page 9 Connect the female cable/connector to the output connector SK2, the male cable/connector to output connector SK1 When both cables have been connected to the K8091EU mount the strain relief and tighten up with the included 15mm bolts and M3 nuts.
- Page 10 Assembly 3. Assembly Before mounting the PCB on its place you must mount the red display. After placing the red display mount the PCB in the front cover with the 4-digit display facing to the red display window with 4 screws. ...
- Page 11 Connection 4. Connection power supply: 220- 240V AC / 50Hz. lamp power: 40 ~ 100W 5. First power-up At first power-up Make sure to read and understand the important safety information on p. 3 At first power-up the product number 8091 and version software appear. Default setting The default setting is the blinking clock time 0:00 with a default alarm time 07:00 and alarm functions (light+buzzer) deactivated.
- Page 12 Setup Alarm: Note: If you are not entering this mode after the time setting you must press twice the 'select' button to enter the alarm mode. The 'alarm set' indicator blinks to confirm you're in the alarm mode. Press the middle button to set the minutes, the right button for the hours. ...
- Page 13 light control 7. Alarm process SEQUENCE: . . . time alarm time Snooze 8 minutes Snooze Buzzer on Light at maximum Buzzer on Alarm is switched off * min. 15 minutes The repeat function of the buzzer will automatically repeat every 8minutes until the alarm is deactivated by pressing the manual on/off button.
- Page 14 9. PCB...
- Page 15 Schematic diagram 10. Schematic diagram...
- Page 16 VELLEMAN NV Legen Heirweg 33, B-9890 GAVERE Belgium (Europe) Modifications and typographical errors reserved © Velleman nv H8091IP’1 - 2014 (rev.2) 5 4 1 0 3 2 9 4 0 9 2 3 4...


