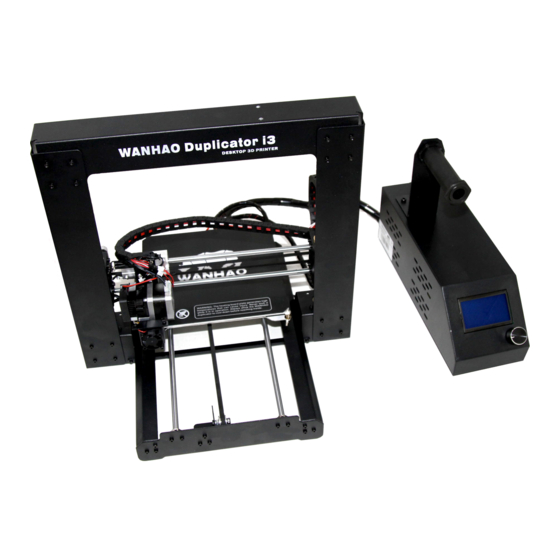
WANHAO Duplicator i3 User Manual
Hide thumbs
Also See for Duplicator i3:
- Software user manual (25 pages) ,
- Step by step installation instructions (12 pages) ,
- First run experience (12 pages)
Advertisement
Advertisement
Table of Contents

Summary of Contents for WANHAO Duplicator i3
- Page 1 WANHAO Duplicator i3 User Manual V1.2 © Wanhao USA 2015 www.wanhaousa.com...
- Page 2 Stay clear of the printer frame perimeter while the machine is in operation. Always control the Duplicator i3 from the rotary dial on the front of the printer or via the computer software. Never push or pull any of the components by hand. After a print, make sure your printer is off and that your nozzle is no longer hot before removing a model from the printer.
- Page 3 What's In The Box Duplicator i3 3D Printer 10M (~30FT) PLA Filament Pack Control Box USB Cable SD Card Kit Model Removal Tool Platform Tape Sheets Hex Screws & Key Kit Filament Spool Holder Power Supply Cable Spool Holder Stand...
- Page 4 Unboxing & Hardware Setup #1 Your printer was packed securely to ensure safe shipment and storage. Make sure to remove shipping ribbons, foam inserts, and packaging carefully to prevent damage. Make sure to begin the unboxing by laying the outer printer box on a dry, clean, and stable work surface (table or floor).
- Page 5 5. Remove the printer base from the foam packaging and place onto a flat surface. 6. Remove and place the control box next to the printer base. Remove the second-layer foam insert revealing the square tower frame & the extruder assembly. 8.
- Page 6 9. Insert the printer base into the tower frame and match the screw slots where the two frames meet. 10. Locate the screws (4 PCS) in your cardboard accessories box and use them to screw the tower frame to the printer base. Start by screwing in one screw from the outside of the frame towards the inside of the frame.
- Page 7 Once your tower is locked in placed you will need to make sure that your X-Axis (the 2 parallel rods running left-to-right) is perfectly level to your printing platform. You can raise each side of the X-Axis by turning the couplers at the bottom of the Z-Axis threaded rods.
- Page 8 Hardware Setup #2 Find the Spool Holder Stand and the Control Box. Place the stand into position on top of the Control Box by aligning the two screw slots so that they are at the rear of the stand. Insert 2 screws and secure the stand to the Control Box.
- Page 9 Hardware Setup #3 To protect your printer against damage during shipping we have disconnected the Z-Axis and X-Axis stepper motor cable connectors. You will need to insert each connector into their corresponding sockets before using your printer. The longest cable is for X-Axis. The other 2 cables near the sides of your printer are for the Z-Axis stepper motors.
- Page 10 (USA uses 110V). Before connecting anything, make sure that Duplicator i3 power switch is in the OFF position. Find your Power Cable cardboard accessories box and plug it into the power supply socket on your Control Box (the socket is located next to the power switch).
- Page 11 Upon turning on your printer you should see the WANHAO logo while your printer's firmware boots up and then ultimately the status monitor screen. While your printer is in operation the status monitor screen will show you real-time information pertinent to your printer.
- Page 12 Leveling Your Build Platform Properly leveling your build platform is crucial to the quality of your print. The term "leveling your build platform" refers to the manipulation of the four corners of your build platform in order to properly space the distance in between your extruder nozzle and the build surface...this is what will ultimately determine the resolution, strength, and accuracy or your prints.
- Page 13 Before you start leveling the build plate make sure that you have placed your build surface (Tape Sheet, Glass Plate, or Custom Surface) onto your build plate so that you can account for the added height of your chosen surface during leveling.
- Page 14 Once you have turned your printer OFF there will no longer be power to your stepper motors and you will be able to move the platform (Forward/Back along the Y-Axis) and also the extruder assembly (Left/Right along the X-Axis). This will allow you to MANUALLY move the platform &...
- Page 15 Manually move your platform & extruder assembly nozzle height check position #1 and take a look at the space between brass nozzle underneath the extruder assembly and the build surface. Turn the wingnut underneath the closest corner of the build platform either clockwise...


