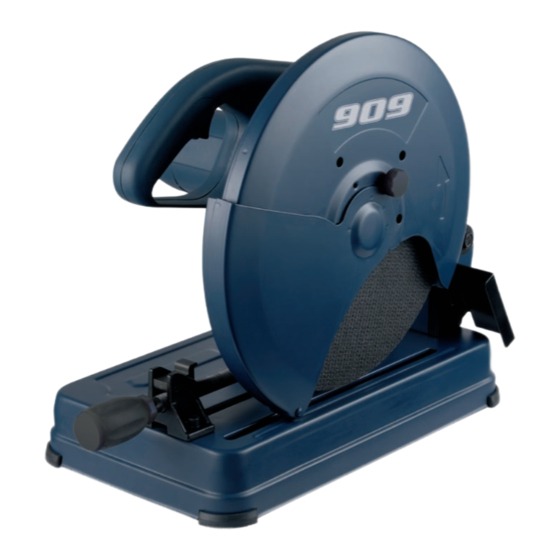
Summary of Contents for 909 P3059
- Page 1 INSTRUCTION MANUAL P3059 2400W 355mm CUT OFF SAW Black Magenta Code: P3059 Cyan Yellow Date: 110328 Edition: 07 Op: MJF...
-
Page 2: Table Of Contents
CONTENTS Warranty Power Tools Warranty Introduction For full details please visit us at www.909.com Environmental protection Description of symbols Specifications General safety instructions Additional safety rules for cut off saws Accessories Unpacking Assembly Know your product Overview Attaching the vice handle... -
Page 3: Environmental Protection
Cautions and Warnings. Conforms to relevant standards for electromagnetic compatibility. Your 909 power tool has many features that will make your job faster and easier. Safety, performance, and dependability have been given top priority in the For safe operation read instruction manual. -
Page 4: General Safety Instructions
General safety instructions 7. Dress correctly. Do not wear loose clothing or jewellery. They can be caught in moving parts. Rubber gloves To use this tool properly, you must observe the safety and non-slip footwear are recommended when working regulations, the assembly instructions and the operating outdoors. -
Page 5: Additional Safety Rules For Cut Off Saws
• When the disc is installed, stand to one side, out of line 17. Stay alert. Watch what you are doing. Use common with the disc, and run the tool for at least a minute to sense. Do not operate a power tool when you are tired. make sure that it is not faulty. -
Page 6: Accessories
The following hazards may Due to modern mass production techniques, it is unlikely arise in connection with the tool’s construction and design: that your 909 Power Tool is faulty or that a part is missing. • Contact with the disc. -
Page 7: Know Your Product
Know your product Before using the saw, familiarise yourself with all the operating features and safety requirements. 1. Trigger switch 2. Disc guard 3. Front spark shield 4. Spark shield locking knob 5. Cut off disc 6. Spindle lock 7. Rear spark shield 8. -
Page 8: Overview
Overview Adjusting the vise The cut off saw is used for cutting steel such as pipe, box The vise can be adjusted quickly section, rectangular, angle iron and steel bars. The saw can by pushing on the vise handle cut at angles from 0° to 45° left and right, it features a three forward, or backward by dis- position fence that permits an extended cutting range. -
Page 9: Adjusting The Cutting Angle
4. Move the fence backwards or forwards to one of the Adjusting the cutting angle other two fixing positions . 1. To change the cutting angle loosen the 2 hex screws 5. Tighten the 2 hex bolts to secure the fence in position. securing the fence using the 8mm hex key supplied (Fig. -
Page 10: Replacing A Cut Off Disc
6. Clean any grinding dust from the inner flange and, after Replacing a cut off disc checking that it is in good condition, mount a new disc CAUTION. Always ensure that the saw is switched off between two paper blotters. The rear blotter should be and unplugged from the power supply before installing or mounted onto the inner flange and the front blotter is the removing a disc. -
Page 11: Depth Stop
6. Bring the disc down onto Depth stop the workpiece and allow it Note. Ensure that the depth stop to cut its way through the is adjusted to the correct height workpiece without undue before commencing operation. force (Fig. U). The adjustable depth stop is 7. -
Page 12: Mounting The Chop Saw To The Bench Top
• Too much pressure being applied to the tool can also Power cord maintenance cause the cutting disc to cut on an angle. Ensure the If the supply cord needs replacing, the task must be carried beginning of the cut is a gradual start and apply the firm out by the manufacturer, the manufacturer’s agent, or an and constant pressure as the cut gets deeper.


